

-


移动开发
站-
热门城市 全国站>
-
其他省市
-
-

 400-636-0069
 白羽
2018-06-27
来源 :网络
阅读 806
评论 0
白羽
2018-06-27
来源 :网络
阅读 806
评论 0
摘要:本文将带你了解Android 开发之ButterKnife注解框架详解,希望本文对大家学Android有所帮助。
前言:
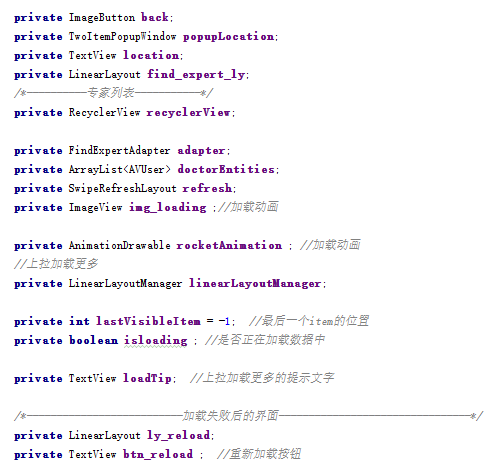
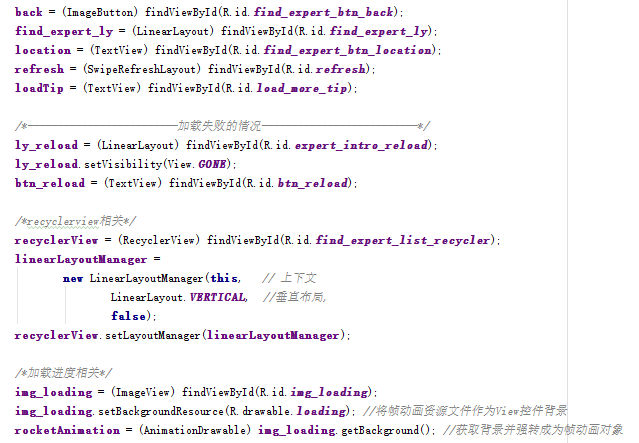
注解,相信很多同学都用到了,对控件进行初始化的时候需要用到 findViewById() ,当一个activity 中控件用到的比较多的时候,会显得代码臃肿
比如:
那我们使用注解就很方便了,按下面的步骤来,学一下如何在项目中使用注解
一、添加依赖
在app目录下的 build.gradle文件中添加 :
compile 'com.jakewharton:butterknife:7.0.0'
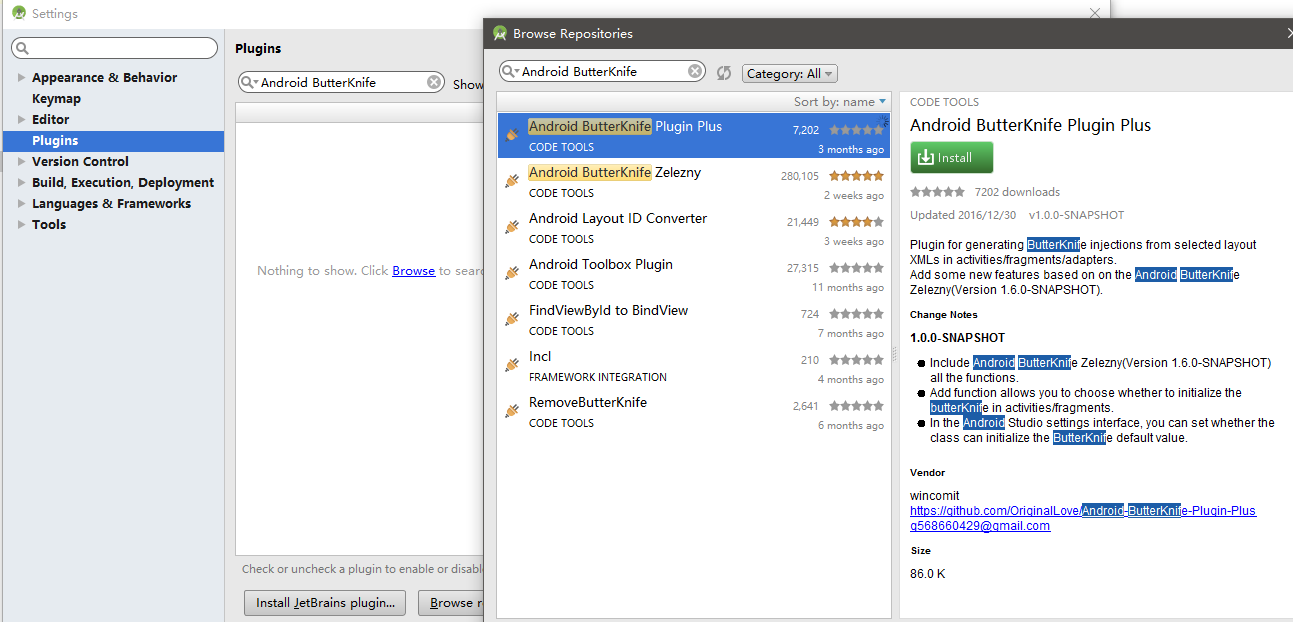
二、Android Studio安装插件
1、Android Studio 打开一个项目,点击左上角 File -->Settings... 进行设置

2、搜索 'Android ButterKnife' 安装插件 Zelezny 右侧绿色安装按钮
3、写个布局,里面有若干个控件
<?xml version="1.0" encoding="utf-8"?>
<LinearLayout xmlns:android="//schemas.android.com/apk/res/android"
xmlns:tools="//schemas.android.com/tools"
android:layout_width="match_parent"
android:layout_height="match_parent"
android:id="@+id/root"
android:orientation="vertical"
tools:context="com.xqx.customview.MainActivity">
<com.xqx.customview.XViewGroup
android:id="@+id/xgroup"
android:layout_width="match_parent"
android:layout_height="wrap_content">
</com.xqx.customview.XViewGroup>
<Button
android:id="@+id/jump"
android:layout_width="wrap_content"
android:layout_height="wrap_content"
android:text="打开新的Activity"
/>
<TextView
android:id="@+id/text"
android:layout_width="wrap_content"
android:layout_height="wrap_content"
android:text="文本1"
/>
</LinearLayout>
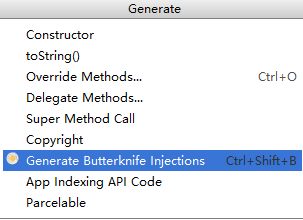
4、用插件实现注解
①、在布局上右击,选择Generate
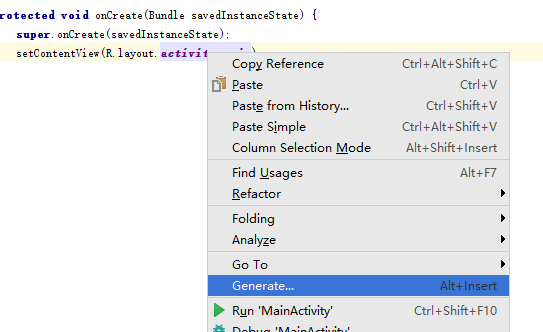
②、选择插件
③、选择要注解的控件
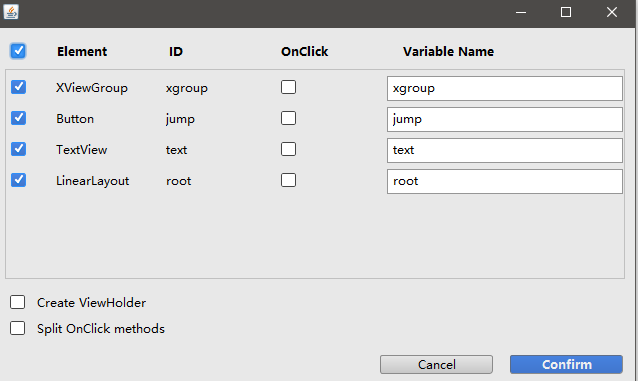
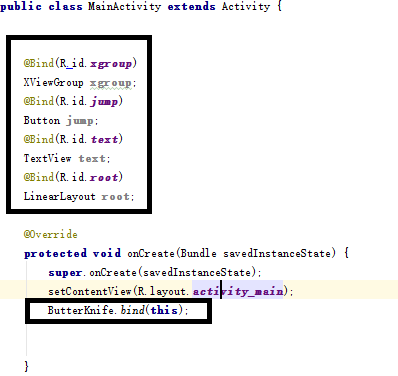
④、提交查看效果 ,会发现每一个控件 都有注解 。并且onCreate()里多了一个 ButterKnife.bind(this);代码
本文由职坐标整理并发布,希望对同学们有所帮助。了解更多详情请关注职坐标移动开发之Android频道!
 喜欢 | 0
 不喜欢 | 0


您输入的评论内容中包含违禁敏感词
我知道了

请输入正确的手机号码
请输入正确的验证码
您今天的短信下发次数太多了,明天再试试吧!
我们会在第一时间安排职业规划师联系您!
您也可以联系我们的职业规划师咨询:

版权所有 职坐标-一站式IT培训就业服务领导者 沪ICP备13042190号-4
上海海同信息科技有限公司 Copyright ©2015 www.zhizuobiao.com,All Rights Reserved.
 沪公网安备 31011502005948号


 索取资料
索取资料

 答疑解惑
答疑解惑

 技术交流
技术交流

 职业测评
职业测评

 面试技巧
面试技巧

 高薪秘笈
高薪秘笈


